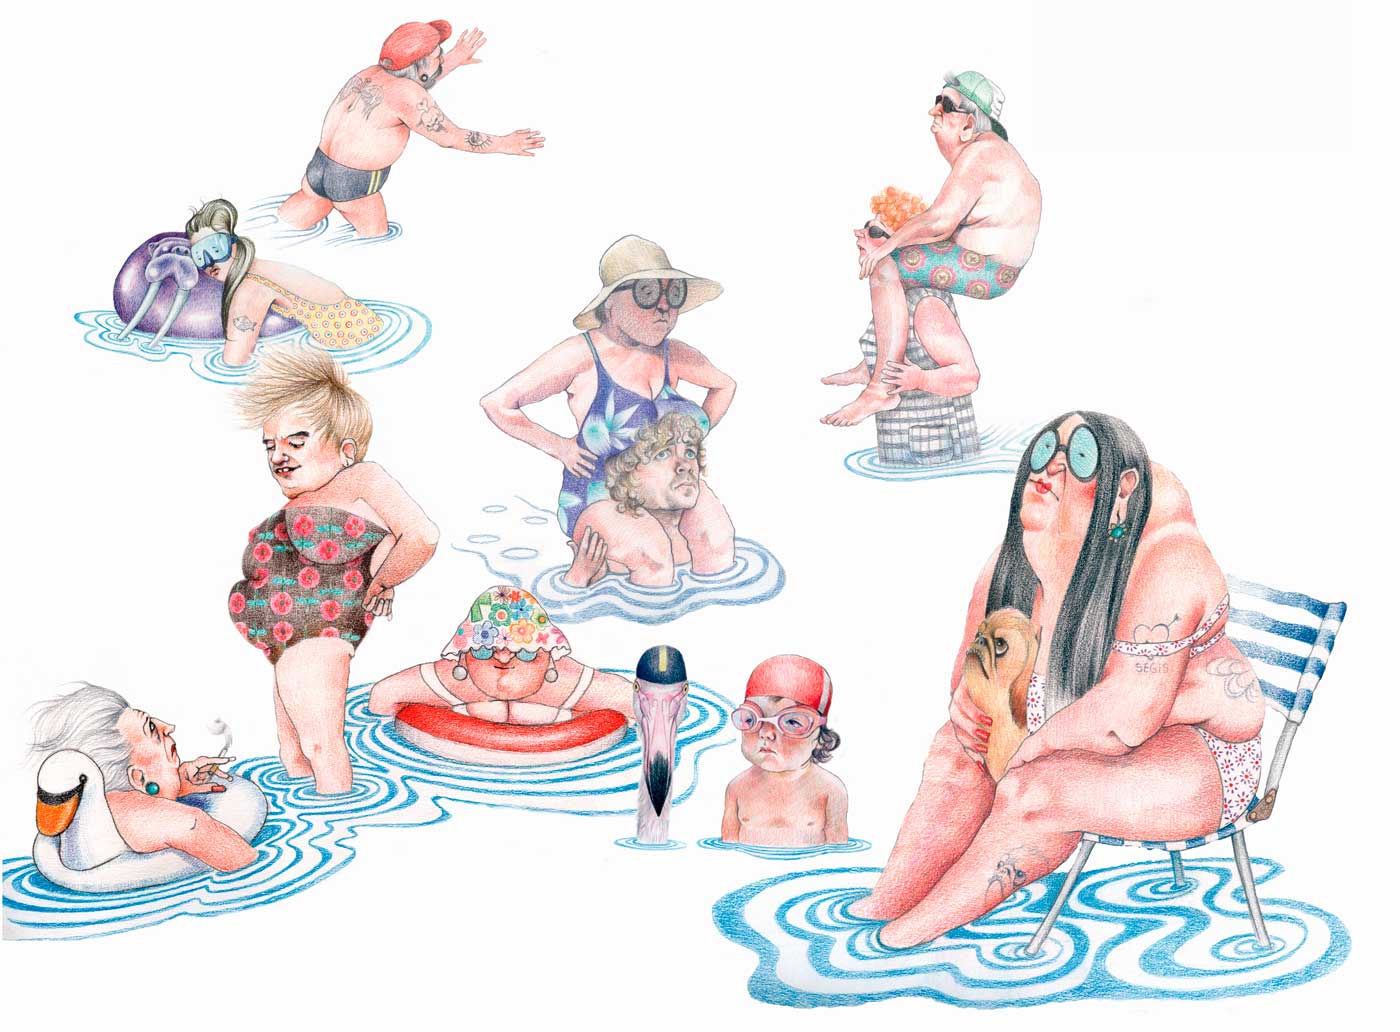
Make this face in a figurative way, that is, without making an exact copy of reality, but contributing your own expressiveness. Use colored pencils and apply different strokes.

Make this face in a figurative way, that is, without making an exact copy of reality, but contributing your own expressiveness. Use colored pencils and apply different strokes.
Here you can see some works of my students, using points, lines and spots inan original way.
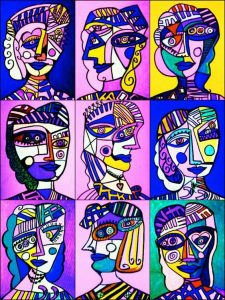
How to make a cubist portrait?
This is a nice work for developing our creativity. We have to make up a miniworld into a box, through cut outs, silhouettes, and a careful composition. The results are really nice.
We are going to complete the 2nd and the 3rd table that we made two weeks ago, the 1st one has the gray scale.
In the 2nd table we are going to make a range of warm colors.
In the 3rd table a range of cool colors.
You can only use your colored pencils and the 3 primary colors, yellow, magenta and cyan blue.
You have to see the tutorials in this order:
1. Warm range
2. Cold range
To do this exercise I offer you two options:
1. A drawing using the silhouette of your hands.
2. A drawing using a symmetrical figure cut out of cardboard as a silhouette. You can use all the colored pencils you have but divide them between warm and cold colors. If you don’t have many colors you can mix them to get more shades.
In this work we’ll work with recycled materials as diary paper. This technic is called papier maché, and you have to mix paper with white glue. We’re going to make birds, and we’ll paint them using temperas. Each student will choose if he or she wants to paint the bird in warm or cool colors.
In this exercise we’ll work with temperas, applying our knowledge about cool and warm colors. In this case we’re going to make a selfportrait.
These are the final results.
The class is divided into three groups that will work in differents aspects: point, line, plane with textures. They can work with dry and wet techniques, markers, colores pencils and tempera.
It will work in pairs on a large card:
In this work we’ll work on flat geometry, specifically the dodecagon, and the chromatic gradations with temperas.
Here you can apreciate the varieties of Christmas trees that the students made. The result was very nice and to see them all together a very interesting experience.
How to draw an octagone inscribed in a circle:
How to draw an heptagone inscribed in a circle:
How to draw a pentagone inscribed in a circle:
How to draw an hexagone:
Here you can find the characteristics of a polygon:
https://youtu.be/zI3rUMrRLF8
Star polygons
First thing we have to do is to find out the center of the sheet:
Once you have have found the center of the sheet….watch this video. In this video you can see how to make and decorate a star polygon, but it is only a suggestion, now you can choose the number of sides of your star polygon and decorate it however you want.
Starting from a star-shaped polygon of more than 12 points, the students have made a mandala like the ones you can appreciate here in this video:
The days of the dead are truly a celebration of life which take place in Mexico, the second of November.. When children dance with caricatures of death, eat skull sugar molds and learn to respect that life is brief, they learn there is a circle to life and to not fear death and then are free to enjoy and appreciate every moment.
Here you can see some examples:
To start doing this exercise, you first have to learn how to make an ovoid.
After drawing the ovoid, you are going to draw different elements to the mask as you were doing an axial symmetry.
Let’s start by drawing our name with a lot of creativity.
To perform this exercise you must learn to divide a segment into equal parts. But warning! it is very important to know how to do parallel with square and bevel.
Here you can see how to do parallels.
Last year we did a very nice job applying it to making your name. We are going to do a brief review and we are going to apply it to the construction of regular polygons.
The order you have to follow to watch the videos is as follows:
1. Thales Theorem
2. Doing a margin on the sheet (opcional)
3. Second task : Divide a segment
4. General Method