We are going to finish making the last table with a range of complementary colors. Choose a primary color and its complementary color, and check out this tutorial:
1. Complementary color.
The artistic application is to make the tail of a silhouette and color it with the same scale you did on the table. Check out this tutorial:
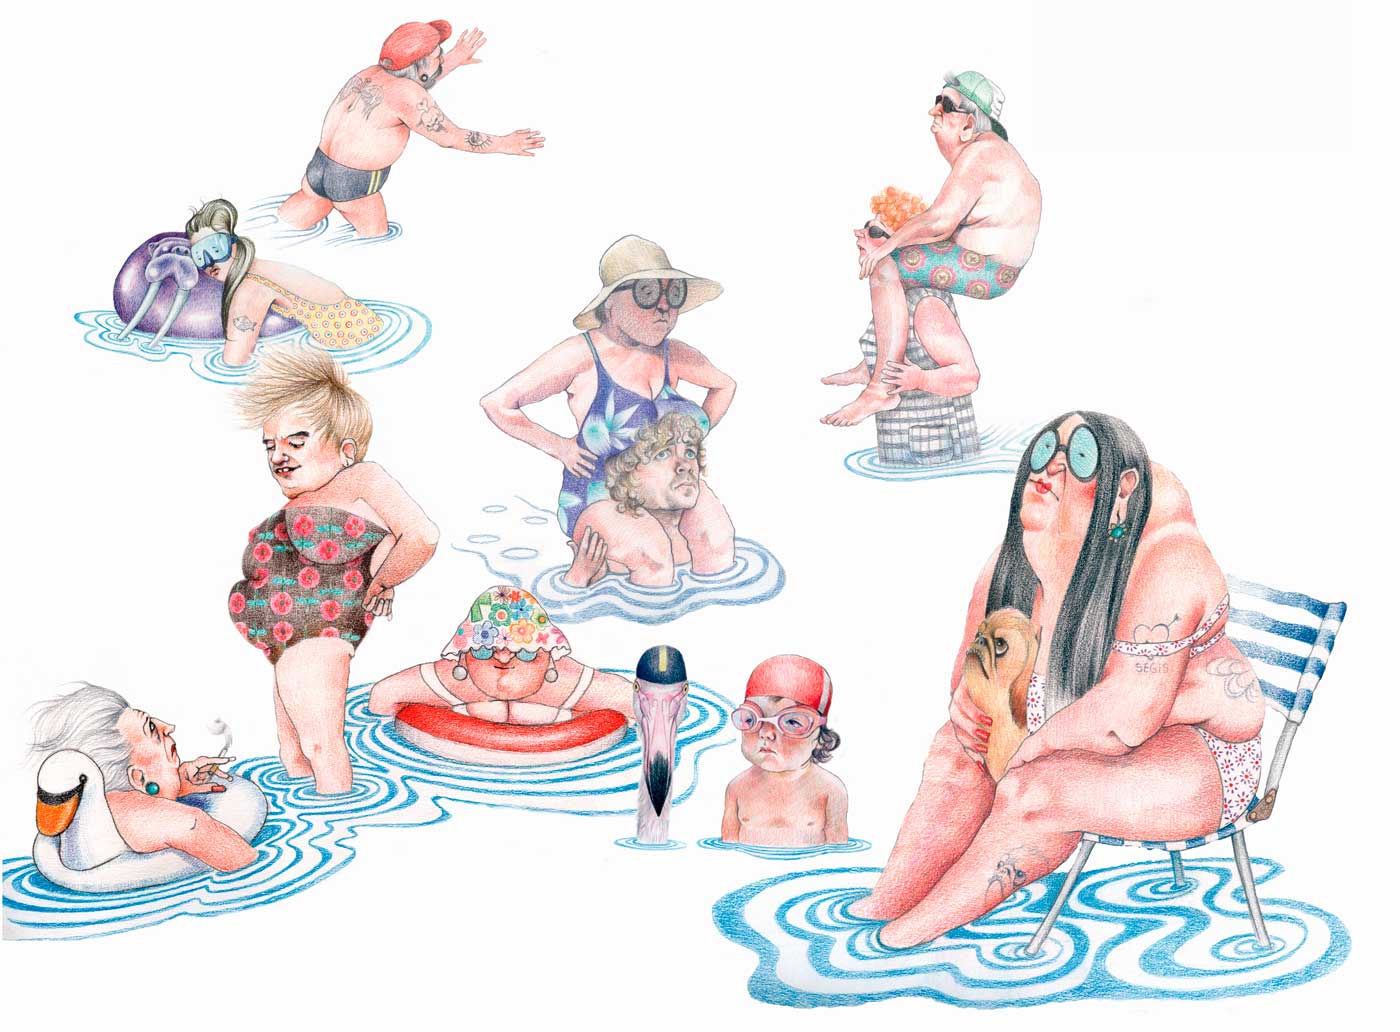
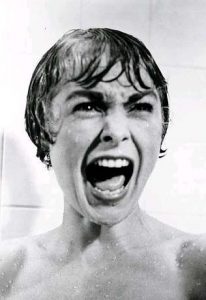
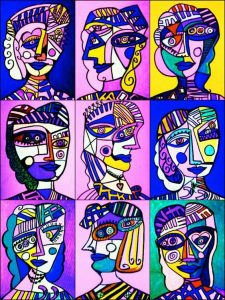
Make this face in a figurative way, that is, without making an exact copy of reality, but contributing your own expressiveness. Use colored pencils and apply different strokes.
This is a nice work for developing our creativity. We have to make up a miniworld into a box, through cut outs, silhouettes, and a careful composition. The results are really nice.
We are going to complete the 2nd and the 3rd table that we made two weeks ago, the 1st one has the gray scale.
In the 2nd table we are going to make a range of warm colors.
In the 3rd table a range of cool colors.
You can only use your colored pencils and the 3 primary colors, yellow, magenta and cyan blue.
You have to see the tutorials in this order:
1. Warm range
2. Cold range
To do this exercise I offer you two options:
1. A drawing using the silhouette of your hands.
2. A drawing using a symmetrical figure cut out of cardboard as a silhouette. You can use all the colored pencils you have but divide them between warm and cold colors. If you don’t have many colors you can mix them to get more shades.
In this work we’ll work with recycled materials as diary paper. This technic is called papier maché, and you have to mix paper with white glue. We’re going to make birds, and we’ll paint them using temperas. Each student will choose if he or she wants to paint the bird in warm or cool colors.
The class is divided into three groups that will work in differents aspects: point, line, plane with textures. They can work with dry and wet techniques, markers, colores pencils and tempera.
It will work in pairs on a large card:
There will be three boxes with points, lines and planes with textures.
Each pair of students will select the papers they like for their own work, which will consist of representing a MARINE ANIMAL. These papers should be adjusted to the needs of they want to represent.
When you have drawn the outline of the FISH, you’ll have to fill it out by cutting the pieces of paper that interest them and sticking them in the most appropiate areas.
Afterwards, the different results will be shown and an aquiarium will be made as a mural.
Here you can apreciate the varieties of Christmas trees that the students made. The result was very nice and to see them all together a very interesting experience.